Showing posts with label tutorial. Show all posts

Tuesday, January 31, 2012

Frequented Blogs

Well this week has been a bust.  Colby has been up a few times each night and is not napping well at all-which leaves me a bit unmotivated to do any projects.  We're finally getting to see the ear specialist  Wednesday after a three week wait.  In the mean time here's some of my favorite blogs, it seems to me that everyone and their dog has a blog these days and there are a lot of neat ones for ideas. 

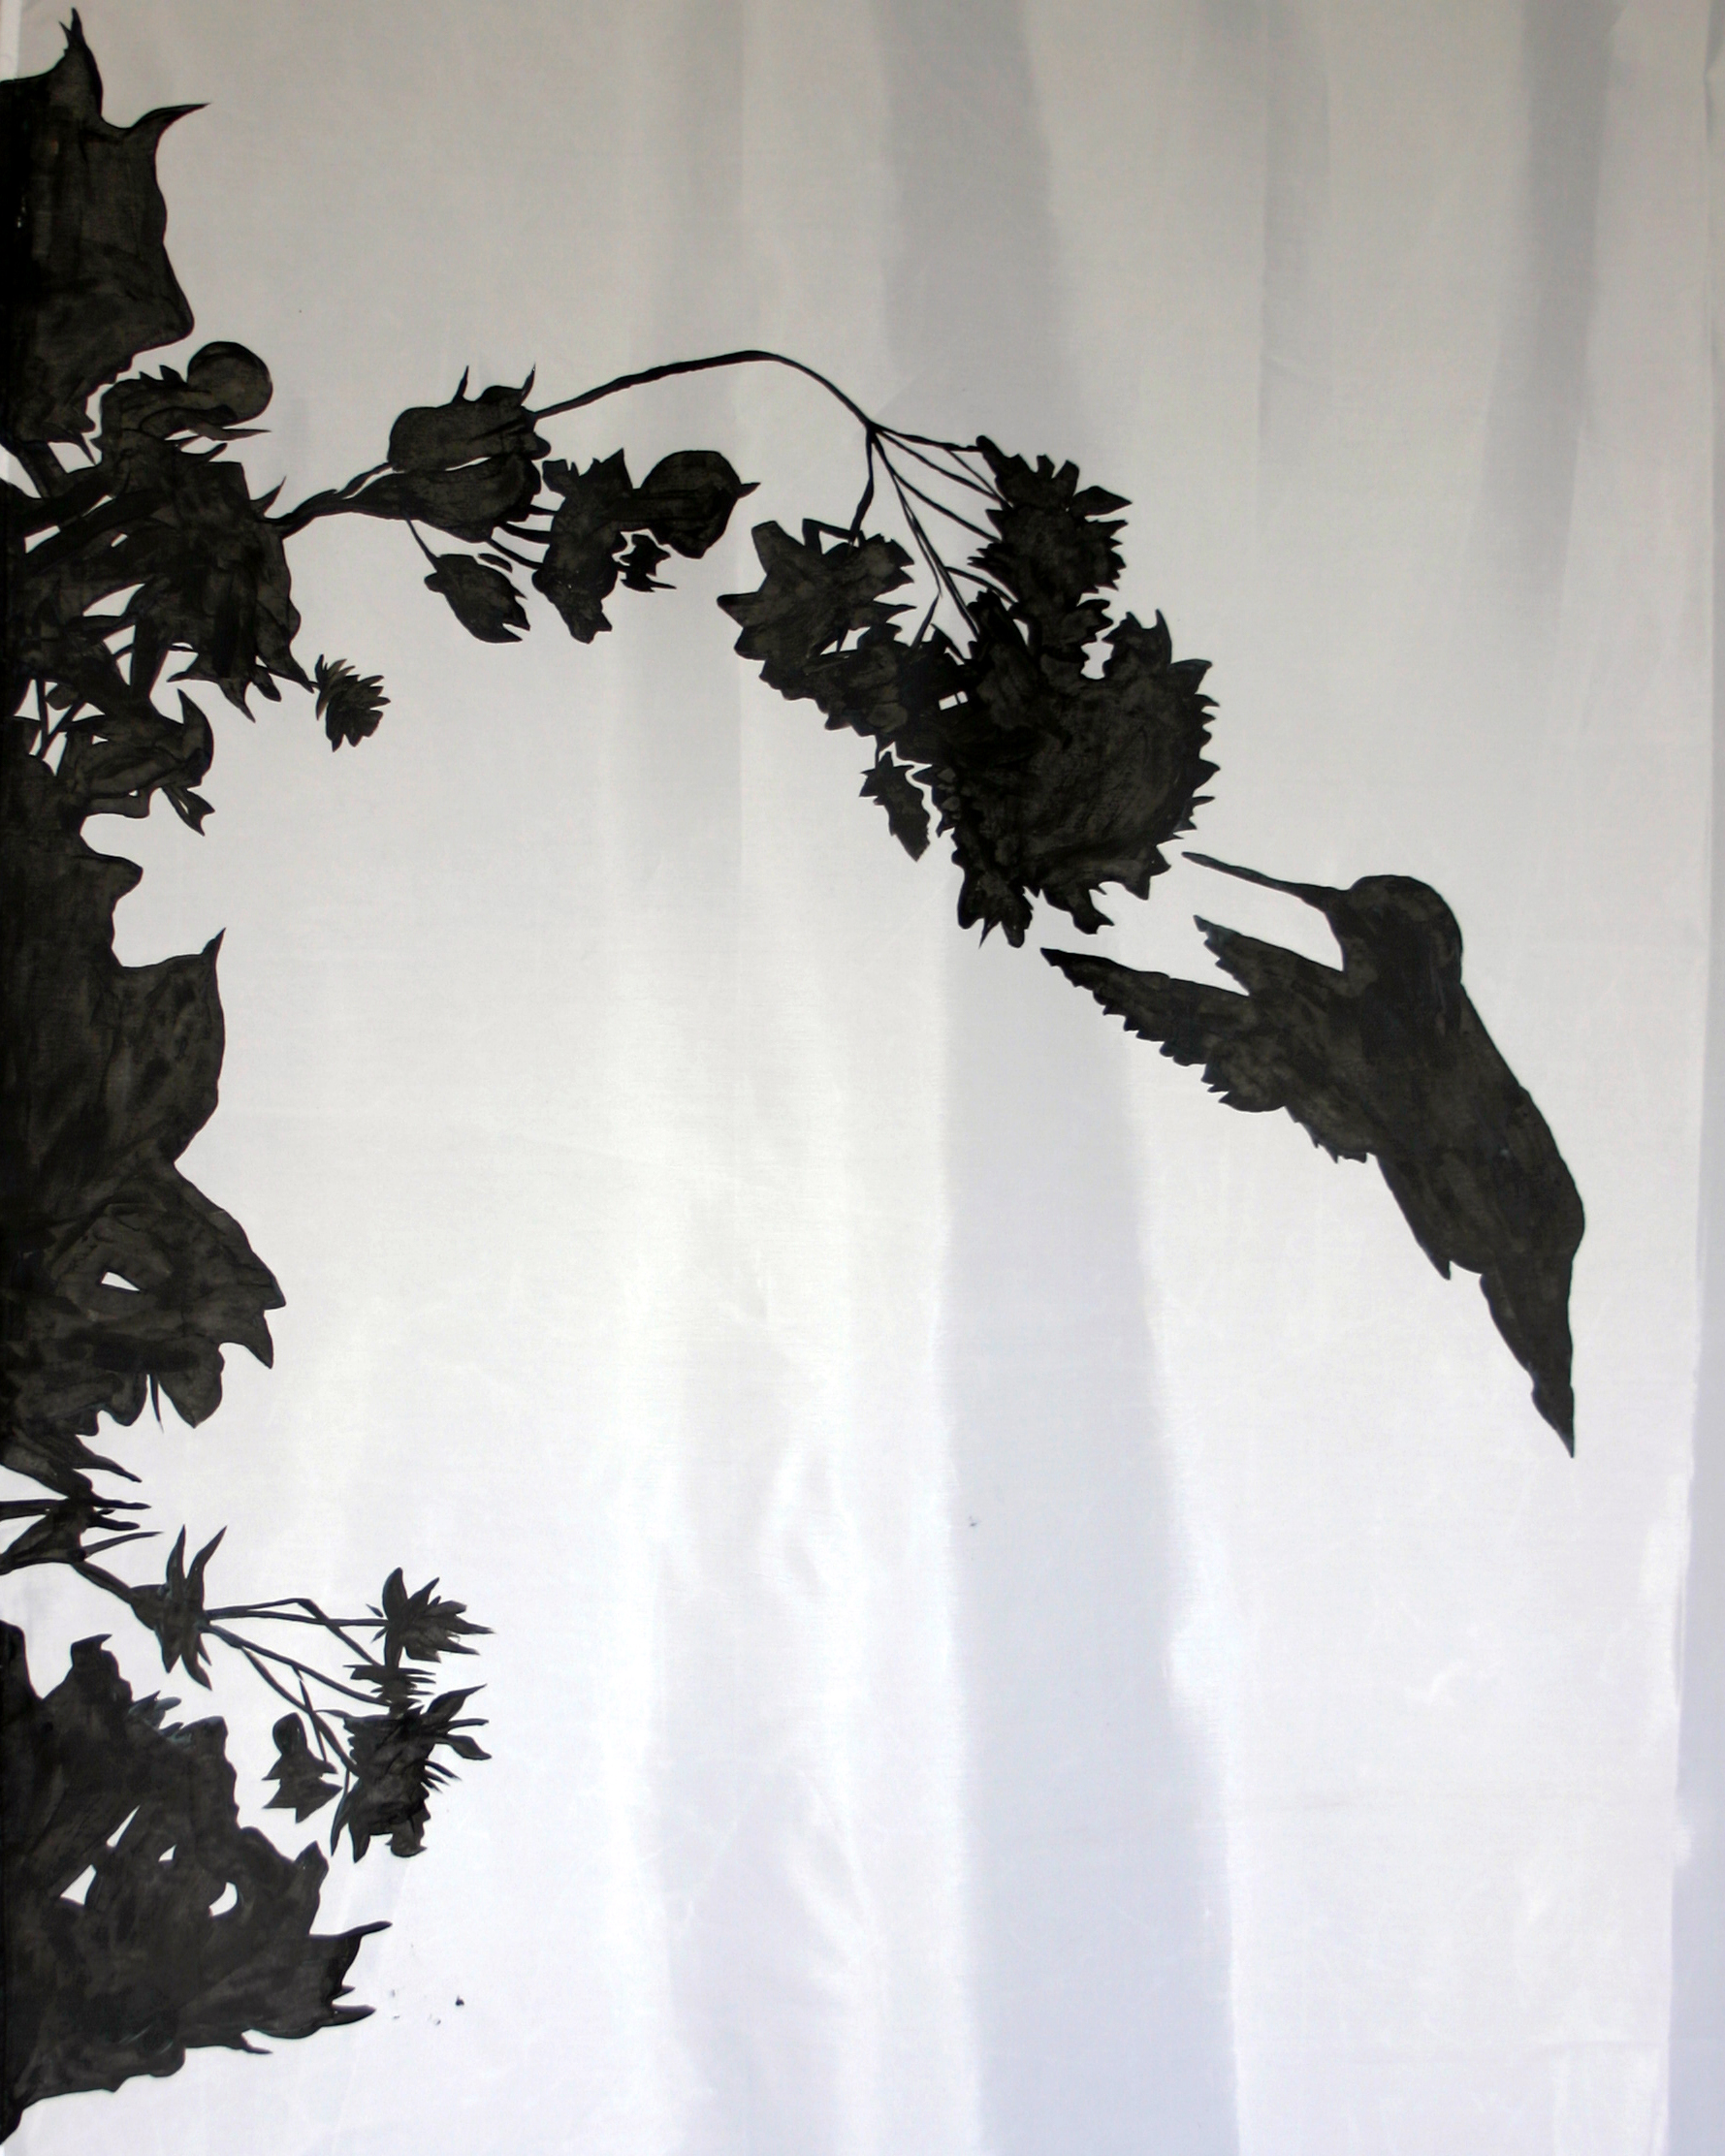
1. Sewinginnomansland  is great for inspirational home sewn skirts, dresses, and little girls' clothes.  The premise of the blog is that she is the wife of a foreign service officer and moves every two years  to isolated locations so she started with her fabric stash to see how far it could go.  I believe she is in America now, but she does some awesome photography. 

Picture from sewinginnomansland.com.  Link is here. 

2.  Cluck Cluck Sew is a great blog for quilting.  I don't quilt yet, but the more I look at the beautiful quilts she makes the more I want to try. 

Picture is from Cluck Cluck Sew.  Link is here. 

3. Grosgrain is a great crafty/stylish blog that has doable projects with minimal investments.  She does a nice job with the photography as well.

Picture from grosgrainfabulous.com.  Link here. 

4.  Craftgawker is a blog that I ran across, probably off of Pinterest;  it has tons of pictures of projects and then if you click on the picture if takes you to a tutorial for the project.  This blog is even more dangerous than Pinterest! 

Picture from Better Homes and Gardens (bhg.com), but found on craftgawker.com.
5.  Okay, speaking of Better Homes and Gardens (bhg.com), that is an awsome site-not necessarily a blog but they have great ideas for decorating, crafting, and cooking. A few other resources I love on the web are marthstewart.com, lowes.com, and mycolortopia.com which is sponsored by Glidden Paints. 

Tuesday, November 1, 2011

Painted Curtain Ideas

I've been thinking about painting our bedroom curtains for quite a while.  Curtains have always bored me and usually they don't thrill me.  Our room is slate blue so I think I may go for a orange or burnt orange on the tan curtains.  Basically you could go as crazy as you wanted from just chevron stripes to hand painted animals.  Soon I will get around to this since it looks like a pretty simple project. Click on the pictures to go to the origin of the photos and tutorials if there are some.

 
Graceful gray and white stripes

Beautiful gray and white stenciled curtain
Painted Hummingbird
Free hand orange on white curtains
These may be my favorite-and most intense-white stencil on gray curtain

Wednesday, July 13, 2011

Side Cabinet Redo

Earlier this summer on one of my secret garage sale escapades I found this little side table.
 It was just made of cheap plywood but sturdy.  It looked as if it had been used in the garage at one point and had holes drilled into the top as if it was holding a tool. 
The tag said $2 so I bought it.  Let me back track a bit...prior to this my husband said, "Don't buy any furniture,"  so I brought the table in while he was at work and hid it by the cat litter until the time was right to tell him I had purchased furniture against his wishes...long story short he noticed it after about a week-the cat litter is by the washer and dryer and he rarely visits those parts of the house, he was a bit perturbed but, hey it was $2 so he couldn't get too mad. 

Process:

1.  I filled in the holes in the top with some wood putty.  Then sanded it down when it dried and reapplyed another coat, sanding afterward. 
2.  I primed the whole thing, did a light sanding after ward with 400 grit sand paper and then spray painted the whole thing with a few light coats of Paprika spray paint. 

3.  I reattached the hardware, and wholla, a fancy new dresser-my husband has volunteered to make a drawer so the whole finished product picture will be postponed for a bit...


Tuesday, March 8, 2011

Cloth Diapers

Our contoured diaper adventure continues with a need for smaller diapers.   I inherited a pile of contoured diapers from my childhood, but they are so over sized I have to fold over the front and the back and the crotch is so wide my child will becomes bowlegged so I have made it my goal this week to create some smaller sizes that are more comfortable for him.  One of the benefits of these diapers are that they are simple and inexpensive.  All I used were some pieces of flannel, thread, an old towel, and some velcro for the fancier version.  I'll give a short impromptu tuturoial of how to make these but I've been trying to tweek the design after seeing how they fit Colby once they are made.  I do recommend washing the flannel and drying at a high heat before making the diapers.

Step 1:  Come up with a pattern.  I used an old diaper and just traced it and made it smaller across the crotch and shorter in length.  Here's an example of the diaper pattern I used.
  Step 2:  Cut out 2 pieces of flannel using the pattern. 


Step 3:  Cut a piece of terry cloth or old bath towel into a rectangle to fit into crotch of diaper.  Leave a few inches at the top and bottom so it will be easier to pin through.  Sew rectangle onto wrong side of flannel piece making sure to sew around edges and at least once down the middle. 


Step 4:  Next sew the two pieces of flannel together good sides facing each other around the edges, leave a gap at one side to make room to turn it right side out. 


Step 5:  Turn right side out and top stitch around the entire edges closing the gap from earlier as well.


Step 6:  If you are interested in making these with hook and loop (velcro) instead of using safety pins attach the hook and loop. I recommend trying the diapers on your child and marking where the hook and loop should go before sewing it on.  I also sewed little pockets on the "wings" to cover up the hook and loop for the wash.