Wednesday, November 30, 2011

Dehydrated Apples


Earlier this fall I picked a ton of apples off of my neighbor's tree.  He was just going to throw them out since there were way more than he wanted.  After some research we decided that most likely it was a yellow delicious variety and they were really clean.  There were some spots from Asian Beetles, but I didn't find any worms at all.  Well, after freezing 4 bags of sliced apples for future pies, 3 pies, and a crisp I needed to use up the apples without going into a diabetic coma, so I decided to make some dried apples.  I googled it of course and it was recommended to use a food dehydrator because it would be  more energy efficient, but I didn't have one so I used my oven.   It took me about 6 hours from start to finish and I devoured all the dried apples within 3 days.  Yum.  Here's how I did it:

 1.  This nifty contraption is a life saver.  It peels, cores and slices the apples all at once.  It looks like a torture machine but was a great present from my dad a few years ago.  So I sliced and peeled the apples then placed them in a bowl with lemon water to prevent browning.


2.  I placed them on cookies sheets and sprinkled them with cinnamon.  There were a lot of variations from putting jello on to sugar, but they are delicious just with cinnamon. 


3.  Then I put them in my oven set at 150 or so with the door open.  I revolved the pans of apples around the oven and flipped the apples about every half hour. 


4.  It took my apples probably about 3 hours to get fully dehydrated.  They are done when they are bendy like leather but don't have moisture beads in them when they are torn. I stored mine in a bowl and as I said they were gone within a few days-but they should keep for several months if stored in a sealed container in a dry, cool place. 


Tuesday, November 29, 2011

Painted Rugs

Shannonberrey.com
Along with my desire to paint my curtains, I've been considering painting a rug for Colby's room or the laundry room.  I've seen some pretty awesome ones, but it seems that they aren't very durable with dog claws.  Most I have seen are painted just using latex paint either free form or stenciling and then they sand down the paint so it softens up more.  Hopefully I can find a plain rug on sale at IKEA or Target soon.    Here are some of my inspirations:

The Chevron Stripes
http://www.thehouseofsmiths.com

  Gradients

Burkelodge.blogspot.com

Numbers
designsponge.com

Stamped Rug
http://myhandsmadeit.com


Monday, November 28, 2011

Homemade Croutons


Yum, just thinking about these tasty treats makes my mouth water.  My neighbor across the street gets loaves of leftover Panera bread from another member at her church and she is kind enough to bring us a few loaves each month.  I had been neglecting to use the bread in the freezer so I thought I would try my hand at making some croutons.  They turned out great and I used them as snacks and toppings for mashed potatoes and even macaroni and cheese. 

1.  Cut up bread into small cubes.

2.  Place in oven at very low temp (150)  for about 15 minutes until dried out. 

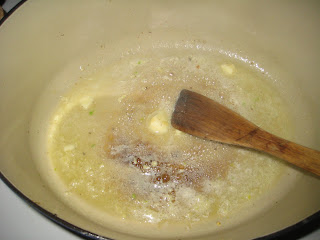
3.  Melt 1/2 cup of butter in large pot with 1 teaspoon of crushed garlic.

4.  Add bread cubes at medium heat stirring periodically until they are toasted and golden brown.  I added some paremesean cheese when they were mostly toasted.  If you do this at the beginning the cheese will just burn.

5.  Cool and eat.  I stored mine for about a week in a bowl on the counter.
Yum.

Friday, November 25, 2011

Make Ahead Pie Crust


Well this recipe comes from my Mom and she got the recipe from a gal at church, so it has traveled a long way.  Basically you mix the flour and shortening together and keep it in the fridge until you need to make a pie.  When you need to make a pie you just take out a cup and add some water until it is the right consistency.  I would definitely recommend looking at a cookbook for details of how to properly roll out a pie crust because I do a pretty crumby job, but they still taste delicious.  It makes about 8 pies.  Enjoy

Make Ahead Pie Crust
6 cups of Flour
2 teaspoons of Salt
4 teaspoons of Sugar
2 cups of shortening (crisco, butter, lard, etc.)
Water

Mix ingredients together using pastry blender until well mixed.  Store in fridge until needed.
To make 9 inch crust use 1.5 cups of mix for a single layer crust and 2.5 cups for double crust.  Add water until just moist and roll out.  Bake for 12 minutes for a plain crust.  If making for fruit pie don't bake ahead of time.


Thursday, November 24, 2011

Happy Thanksgiving!

I hope everyone has a great Thanksgiving.  This year I have so much to be Thankful for:  a healthy baby boy, great family, friends, and so much more! 

Wednesday, November 23, 2011

Homemade Message Board Using Old Frame

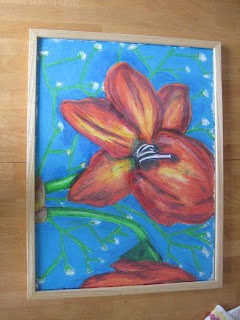
This past summer I went to a wonderful garage sale and everything was 2 for 25 cents, so officially I got this framed oil pastel artwork for twelve and a half cents.


To make the board I simply cut fabric  a bit bigger then the backing and then taped it to masking tape to the board.  

Then I put the glass back on and I think it looks pretty snazzy.  Now it can be written on with overhead markers or white board markers and just wiped off clean.  Just a touch fancier then a white board hanging on the wall.  


Tuesday, November 22, 2011

Homemade Laundry Soap


Yeah, yeah, I know these recipes have been circulating frequently and you can google and find a bazillion recipes that are basically the same.  I've tried out the liquid detergent and it seems to work out really well.  I've read mixed reviews on the safety of Borax and the environmental harms but I'm sure the impacts are far less than the ingredients in store bought detergent. The laundry comes out clean but without the fragrance (lingering chemicals) from regular detergent.  It dissolves well in warm water washes and if it doesn't dissolve well in cold water you can shake 1 tablespoon in a jar with warm water and then put in wash.  I've read that the dry detergent works great for HE Front loading machines because it prevents a lot of build up that can come from using liquids.  I found all the ingredients in the laundry isle of the grocery store. 

Recipe for Dry Detergent:
1 Cup of Washing Soda
1 Cup of Borax
1 Grated Bar of Felsnaptha Laundry soap or bath bar soap like Ivory or Lever 2000

Mix all ingredients and use 1 Tablespoon per load.

Monday, November 21, 2011

Turkey Shirts


I can't believe that Thanksgiving is almost here already.  We got our first snow this weekend and managed to venture out in the blizzard to go to the fabric store-which proved to be the thing to do because we hardly had to wait in line to get our fabric cut when usually it takes up to thirty minutes to get fabric cut.  I orginally saw a version of these shirts on Pinterest and thought to that I could make something even more fantastic.  My first idea was going to be to sew felt on for the bird's beak, eyes, and feather; but then I just tried out painting free hand and it was much easier then sewing small pieces on.  I dyed the onesies brown using RIT dark brown dye on the stove top.  The dyeing part was the most fun so I'm looking forward to experimenting dye even more. 


Tuesday, November 1, 2011

Painted Curtain Ideas

I've been thinking about painting our bedroom curtains for quite a while.  Curtains have always bored me and usually they don't thrill me.  Our room is slate blue so I think I may go for a orange or burnt orange on the tan curtains.  Basically you could go as crazy as you wanted from just chevron stripes to hand painted animals.  Soon I will get around to this since it looks like a pretty simple project. Click on the pictures to go to the origin of the photos and tutorials if there are some.

 
Graceful gray and white stripes

Beautiful gray and white stenciled curtain
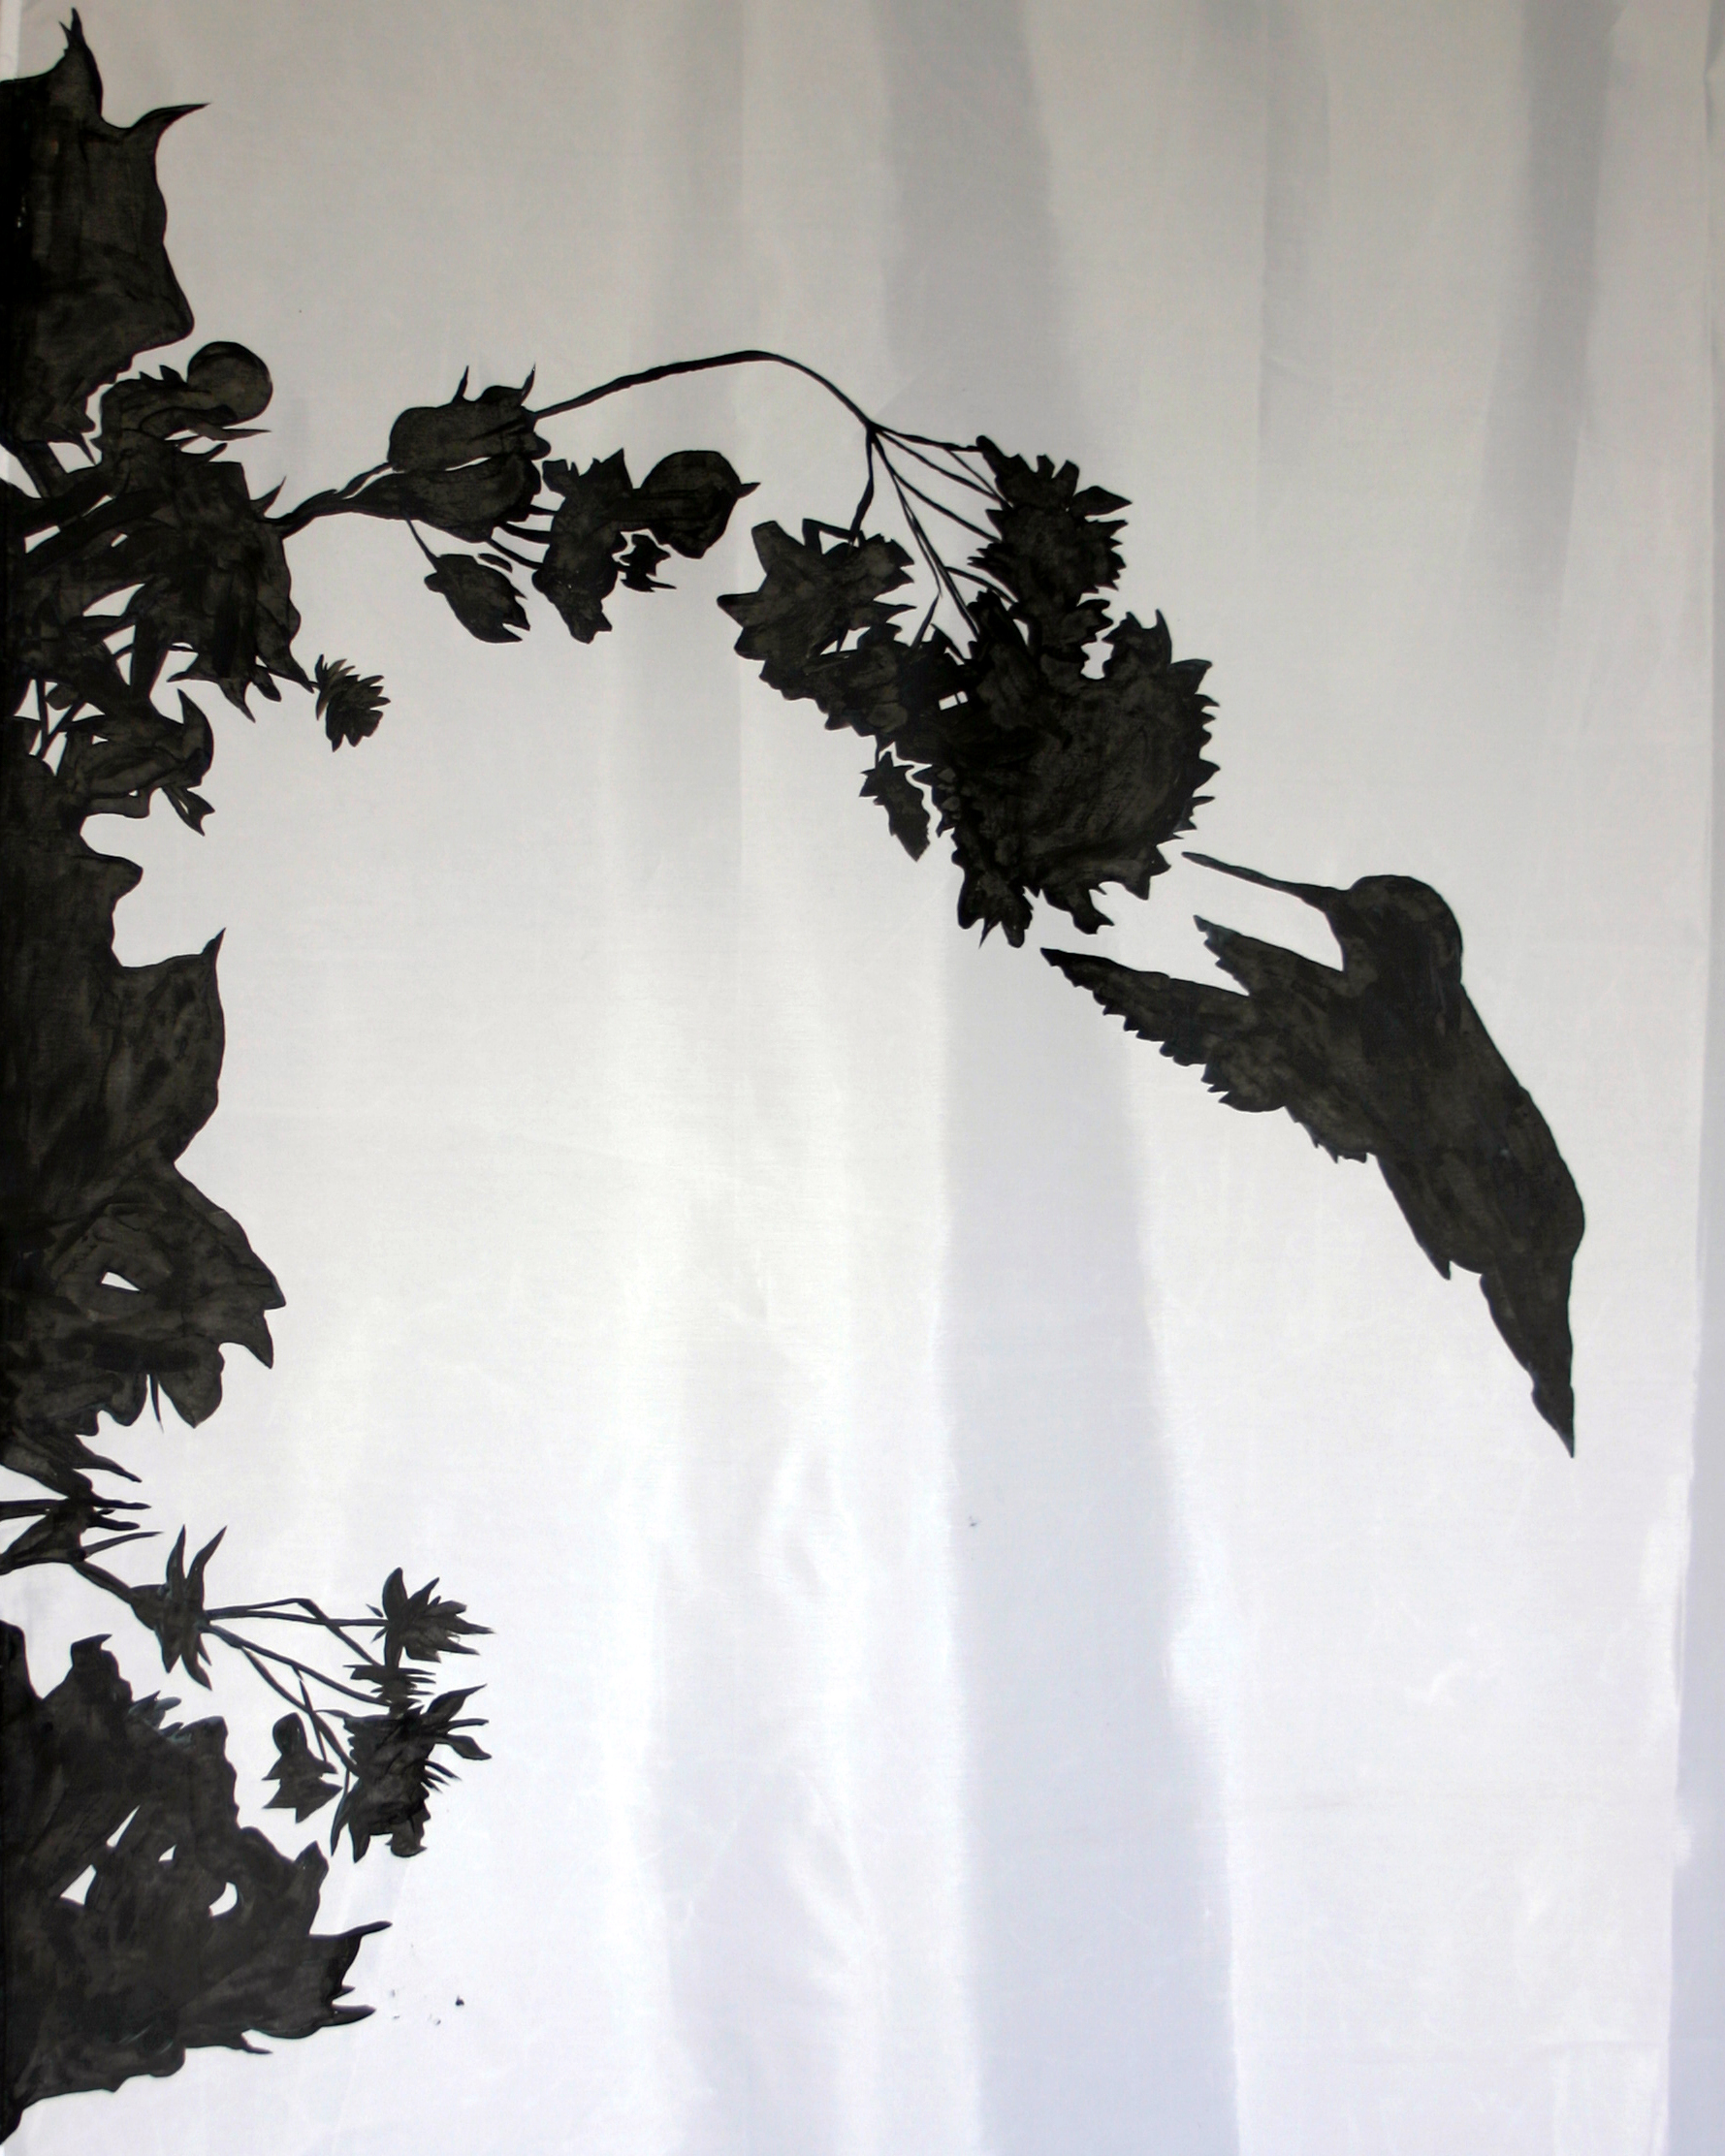
Painted Hummingbird
Free hand orange on white curtains
These may be my favorite-and most intense-white stencil on gray curtain