Tuesday, May 17, 2011

Freezer Paper Stencils

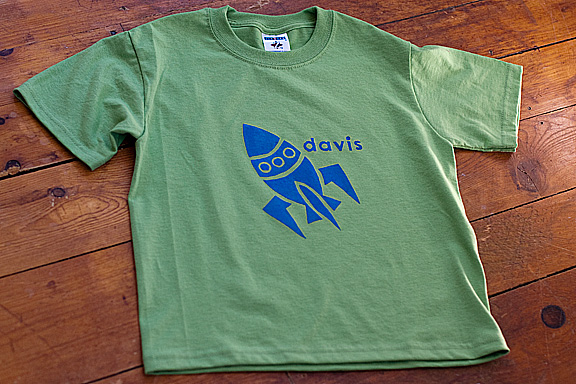
Occasionally I spend a few hours checking out some of my favorite blogs looking for fun inexpensive craft and gift ideas.  I ran across this idea of making your own stencils and decorating t-shirts, bags, pillows, and everything you could think of.  First off Freezer paper is similar to wax paper but it has a waxy plasticy substance just on one side.  Basically you cut out your design out of the freezer paper, iron onto your fabric waxy side down.  It will stick to your fabric so you can then paint recklessly over the cut out parts.  You then remove the paper and magically you have an awesome looking design.  If you visit here you can see a tutorial specifically of how to do this project. Here are some examples of what freezer paper stenciled items can look like:
artfulparent.wordpress.com
I really love the birdy look.  I think this will be one of the first designs I try out-Maybe on some printed pillows.  I'm excited.

chrysanthemum.typepad.com
I'm thinking my nephews and niece are going to have tons of personalized items, perhaps I should try to limit the amount though so strangers don't try to abduct them since they'll know their names.  Hmm.

  
stitchcraftcreations.com

I'm loving the two tone stencil.  These stencils will take a bit more time and work, but the end product is definitely worth it.  I've bought a pack of five plain t-shirts for my nephews and I"m thinking little giraffe shirts would be awesome.  I really think the possibilities are endless at what can be created and I like having the option of adding some special touches to gifts.  The freezer paper is about five dollars for a gigantic roll and I've got tons of fabric paint hanging around so it makes for a really inexpensive project. 

bellgirl.com  

Monday, May 16, 2011

Homemade Baptism Outfit

Last weekend we finally got Colby baptized-he's 3 months-but with the Easter holiday and our in laws away for the winter our choices were limited.  I looked and looked and looked for a baptism outfit but had a hard time finding anything white in the baby section.  Apparently white isn't a good color for little ones.  Instead of going out and buying an expensive outfit online I decided to try my hand at sewing one.  I bought about 9 dollars in fabric-with quite a bit remaining-and used some of his pants and shirts as patterns.  I made a shirt, pants, and a little vest for him to wear.  I went through a lot of trial and error on this outfit.  The first vest I made turned out wonderfully, but it was probably about two sizes too small so it will now be a doll outfit.  The pants were kind of tricky because I needed extra room for the diaper so I had to add an extra piece of fabric in the crotch area.  One of the hardest things I discovered were hems and cuffs.  working with such small pieces of fabric is nearly impossible and I managed to sew the leg openings shut a few times.  All and all it looks pretty good.  Once I get some of the actual pictures from the baptism day I'll post those as well. 


Monday, May 9, 2011

Yo-yo Inspirational Ideas

It seems that the yo-yos are our only mastered "flower" so far, so I thought I could come up with some fun ideas of what to do with these fabulous little delicacies.  I was orginally inspired by an Ethan Allen picture of a blanket that was completely made up of yo-yos in different shades of white.  Awesome.


If you are unsure of how to make yo-yos there is a great tutorial here from Zakka Life.  Apparently there are also yo-yo makers out there, but I would completely see that as cheating.  If there is such a thing as cheating in crafting, I suppose it would just be more of a short cut.  Any who, back to some inspirational projects.


I'm not really sure if this would be all that comfortable, but it is pretty cool to look at.  Guess it is a good way to try to make some money off scraps of fabric at 45 dollars a pop.  Go here to find it.  Now that I've gotten my fanciful ideas out here, let's look at some more stylish functional options. 


I love the color combinations on this pillow.  I've been meaning to update my couch pillows for quite some time and this may be a fun way to do it.  I just need to find some fun fabric.  
This Pillow comes from Sew Mama Sew and there is a tutorial here also. 


Here's another awesome idea that wouldn't be too time intensive but it would be very high impact.  The tutorial is here for the tank and t here are also some other fun sewing ideas at Stitch in My Side.  You can visit this link here to find out more info.
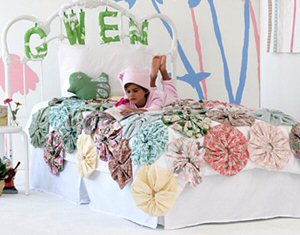


 Gwen would have this ugly yo-yo blanket. (Sorry Gwen)


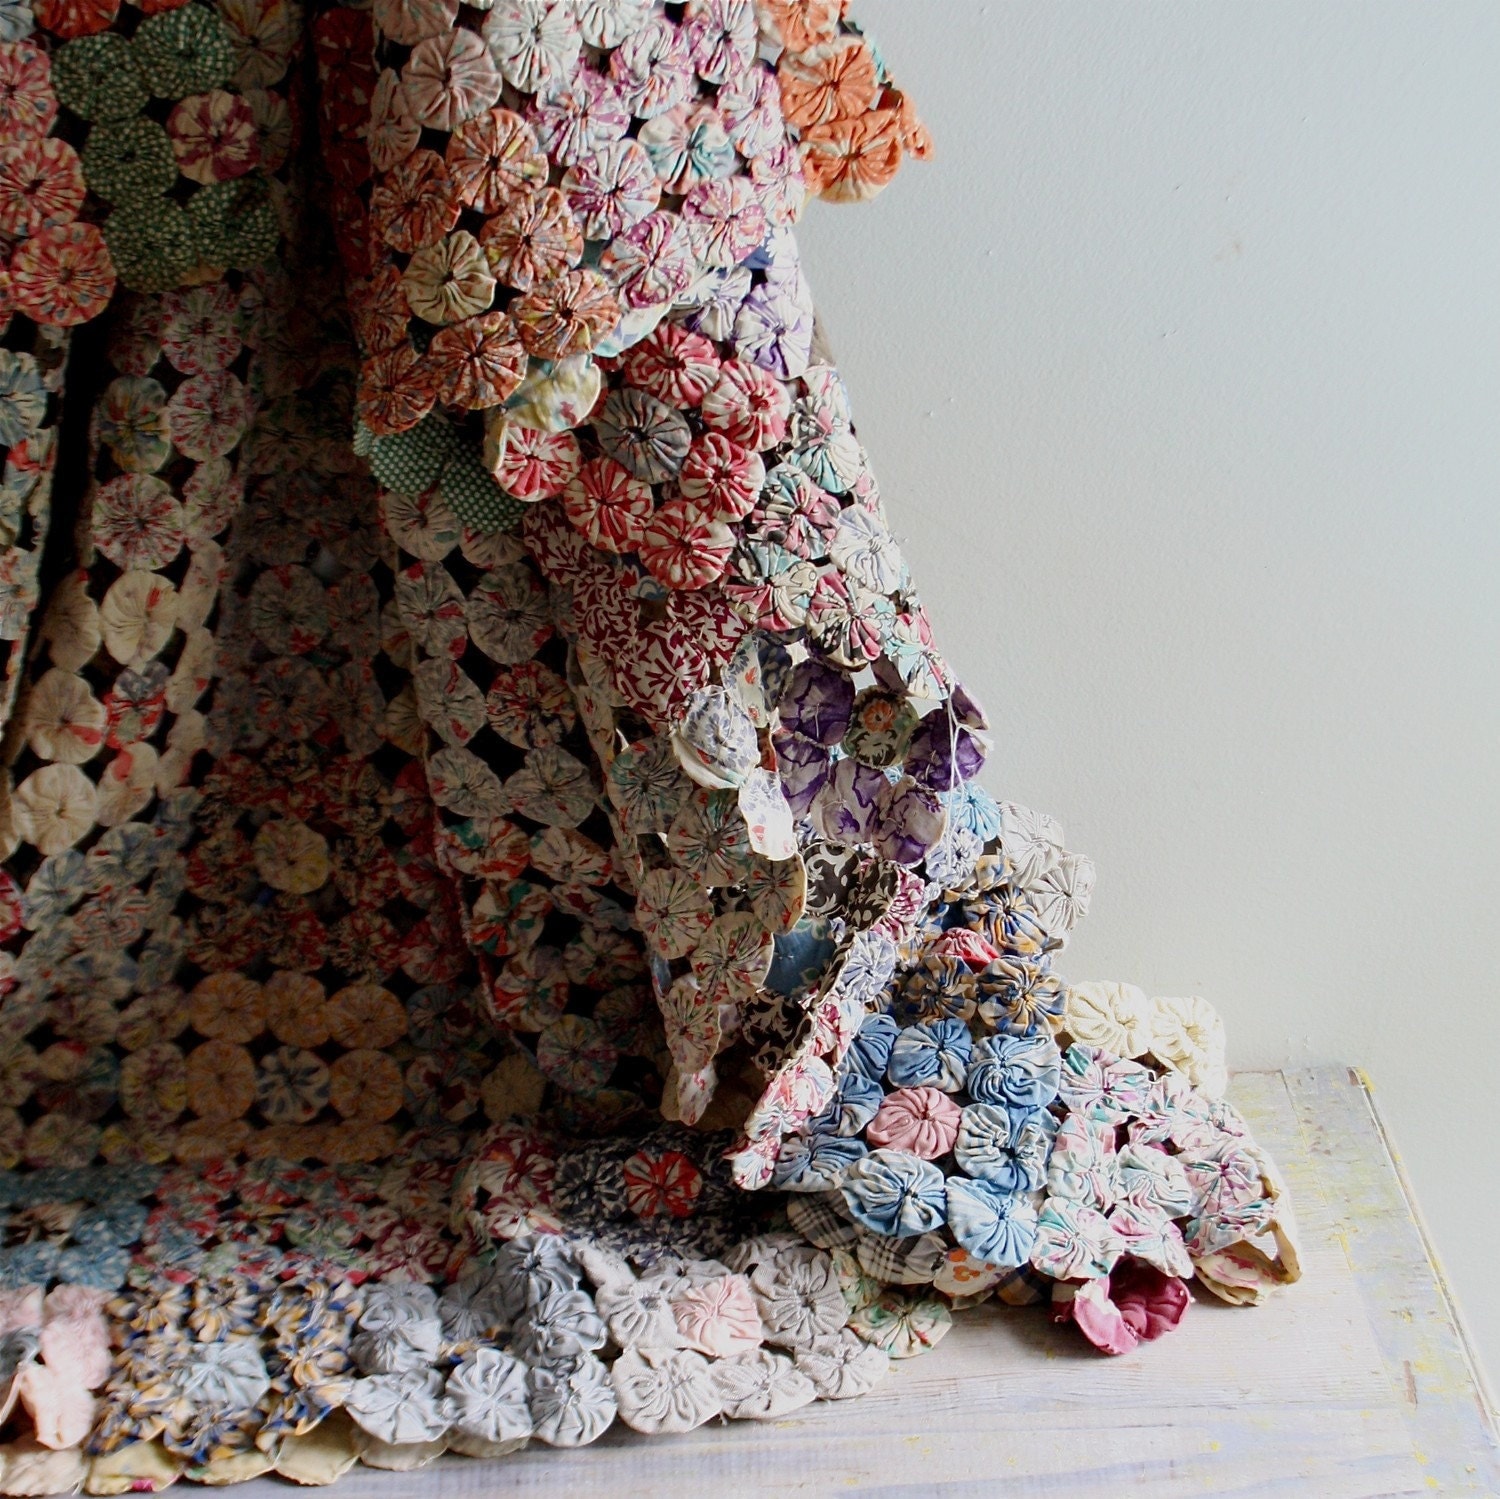
This one is awesome!  Apparently it is an antique yo-yo blanket.  A crazy amount of time must have gone into this, but this would be a great activity to do while watching TV.  Go here to find out more info. 


This is what it looks like when yo-yos go bad.  You can go here to find this one.

Sunday, May 8, 2011

Happy Mother's Day

This year I'm celebrating my first Mother's Day and I am so thankful.  I've always loved being around children and babies but it becomes something totally different when I have my own.  Babies are such a miracle-so much love in such a little package.  I marvel sometimes at how much time I just spend gazing at Colby-the best moments are seeing how content and peaceful he is as he is falling asleep in my arms. Having my own child makes me finally appreciate all that my mom did for me and my brother and sister-so many sleepless nights and busy days.  Happy Mother's Day to all the Moms out there.

Saturday, May 7, 2011

Tasty Turkey Burgers

Unfortunately toting around a three month old really limits the quantity of food I purchase and the amount of time I can spend shopping.  I made it out to Target yesterday for the essentials:  Dog food, diapers, and a sympathy card-I planned on making it out to the grocery store as well, but alas Colby was getting hungry, so I was forced to buy my groceries at Target.  Their meat looked extremely nasty so I ended up finding the most appetizing thing I could find which was Ground Turkey.  Once again, I had no idea what to make with the Turkey, but after looking for awhile on the internet I found this recipe for Turkey burgers, delicious.
(Recipe adapted from AllRecipes.com Actually Delicious Turkey Burgers)


Ingredients:
1 Poundish of Turkey Burger
1 Egg
2 Slices of Bread Toasted and diced
1 Tsp of Italian Seasoning
2-3 Cloves of Garlic pressed
1 Tbsp Parsley
Dash of Salt and pepper
Half an onion Diced
A few splashes of Worshercire sauce

Directions:  It gets  messy here...Throw everything into a bowl and mix together with your hands.  Form burgers and grill for ten minutes or so on each side on medium heat.  Add cheese and enjoy.

Thursday, May 5, 2011

Letter Collage Wedding Present


Wow, I'm pretty excited about this project.  When we went to the Craftstravaganza there was a booth that a lady had photographs of letters and then you could spell out whatever cheesy thing you wanted like BELIEVE, LOVE, etc.  I stumbled upon this project on a few different blogs at Under the Table and Dreaming  and Full of Great Ideas.  I'm so excited because I've got a wedding to go to in a few weeks and I have a hard time coming up with heart felt gifts and not just things from gift registries.  I suppose they really want the things from the gift registry, but they seem so impersonal.  So I'll run down through with a quick tutorial. 

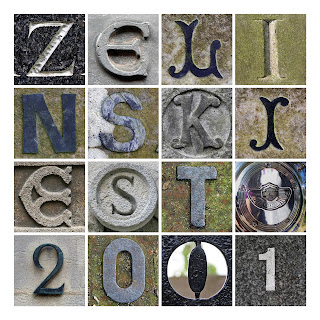
Here's some examples from other places:
Full of Great Ideas


Full of Great Ideas
Under the Table and Dreaming

1.   First you need to figure out what you want it to say.  I used graph paper and started with a 9x9 or there are 16x16 options.  So for mine I did SOUKUP 2011 since that will be their last name and their wedding year.  So many options are out there you just have to play around with it. 

2.  Go to this flikr stream of photos of letters and  numbers

3.  Choose a letter you want.  Click on the photo you like and then at the top left hand corner there is a pull down tab that says actions.  Click on it and choose view all sizes. 

4.  Choose to do the original size or the 1024x1024 for the best resolution.  Next click on Download_________size of photo.  Do this for all your letters and numbers. 

5.  Next go to Shutterfly.com and find the collage poster.  It is under photogifts and then collage posters. 

6.  Choose the size and format you want.  I went with 11x14 and 9 pictures.

7.  Upload pictures to an album (you will need to start a shutterfly account) and then drop the pictures where you want them. 

8.  Order and wait.  My order was 10 dollars which included shipping, a pretty good buy if you ask me. 

9.  Frame and gift.